With 6th edition out and in my hands I am definitely enjoying getting back into 40K.
While the dice gods are rarely on my side (as my opponents will acknowledge) they HAVE been unusually kind recently when it comes to excellent value purchasing opportunities. I recently picked up some Chaos Space Marines, and then this week some Black Templar Space Marines also appeared in my quadrant (and at a good price.) I was interested in the CSMs as a good way to build the foundation of an army that could grow later by purchasing the Cultists from the Dark Vengeance Box, but I basically got interested in the DTs after reading about them once I heard there were some available.
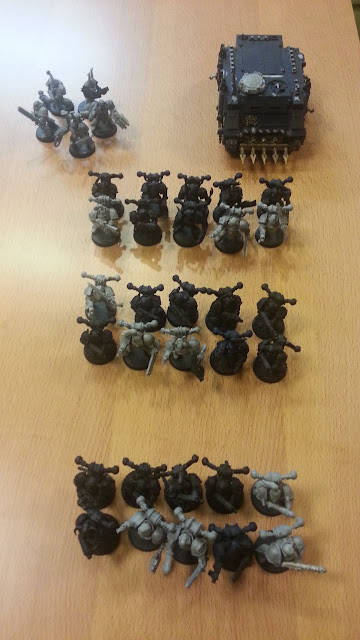
Here is what I picked up: (a big thanks to the original seller!) If I have got the names of the units or models mixed up bear with me - I am learning my way around!
HQ:
x1 Space Marine commander
x1 Emperor's champion (converted)

HQ (Command Squad)
x1 Medic
x1 plasma gun Marine
x1 normal space marine with bolter
x1 Standard Bearer
x1 Marine with power shield and flaming sword

Troops:
x1 Tactical squad of 10 (5 initiates + 5 Neophytes)
x1 Tactical squad of 10 (5 initiates + 5 Neophytes)
x1 Rhino


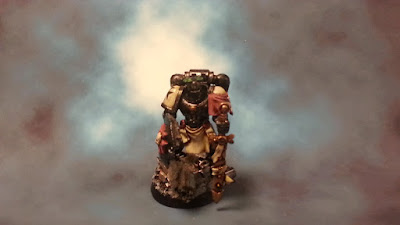
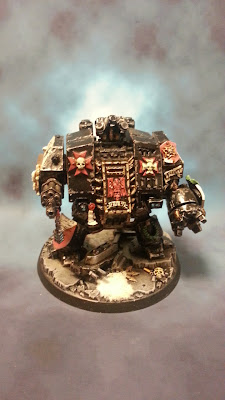
Elites:
x1 Dreadnaught (power claw/ assault cannon)
x1 Techmarine
x1 Swordbrethren squad (bolt pistols/ chainswords)


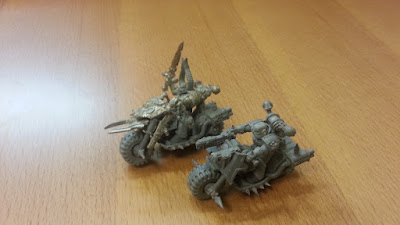
Fast Attack.
x1 squad of 4 bikes, (3 with power weapon)
x1 squad of 4 bikes, (3 with power weapon)

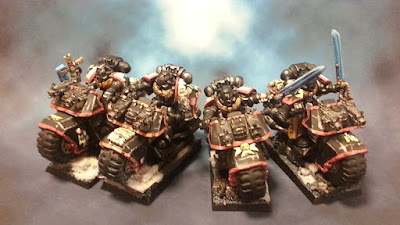

As you can see, this is the first army that I have laid my hands on that is already fully painted! Hats-off to the original owner for a job well done. :-) It looks to be around 1,000 to 1,250 points?
Reading around a bit, it appears that the Dark Templar Codex, like the Chaos Space Marines Codex, is a bit old, (new CSM Codex out this week!) but hey, they are a pretty damn cool chapter - as I am not a competitive player at all that makes them all good in my book. What kid isn't interested in the Knights Templar after all? (Especially a hard-core, far-future version with a massive chip on their collective shoulder pads, a never-ending crusade, and a definite disdain for typical Space Marine rules.)
The question is, are any other purchases essential for this army? E.g. Terminators always seem to be a good buy for Space Marines...
Any hints and tips out there?
Cheers,
*Squeek*
P. S. This purchase also included a Fortress of Redemption, so at least these Black Templars have a place to hang out!


.jpg)
.jpg)


.jpg)