The Game
Folklore: The Affliction is a tabletop 'RPG in a box', published by Greenbrier games. According to Boardgame Geek the core box was published in 2017. Expansions were released in 2017 (Dark Tales) and 2021 (Fall of the Spire).
After watching a lot of reviews, I decided to purchase the core set. Despite having some flaws that most reviewers seemed to agree on (what game doesn't?) I felt the game offered me plenty of elements that I am currently looking for:
- A game with lots of 'theme'.
- Opportunities for roleplaying.
- Captures the feeling of an 'RPG', with a story you can move through with characters.
- Dice chucking, combat, and character management (lots of stat management on character sheets!)
- No model painting (a second printing comes complete with standees.)
After the game arrived, I played a chapter solo (with a party of three characters) and really enjoyed it (despite a hard party wipe at the final battle!) I looked around further and discovered that the expansions offered new stories, rules and systems that would take the world of the game to another level. I invested in both expansions (rather than just use the rules PDFs) and both boxes duly arrived (and the 'Equipment' pack, which includes cards for all the equipment in the game.)
The Challenge
I find Folklore to be a gorgeous game with lots of high-quality components. A thick map of the world, tactical maps (on thin card), standees, mini-Euro sized cards for components and abilities etc.
Did I say 'lots'? Let's see how many components we are talking about?
By my count: 1,615 bits and pieces (I may have made some mistakes, but I totaled publicly available info in this Google sheet.)
Living in an apartment in Japan, I don't have a lot of storage space. Could I fit all of this into a single DIY box organizer? If so, how?
The Tools
In the past I've made my own box organizers from foam core for Descent 2e, and Mansions of Madness 2e. I enjoyed the challenge but it can be very time consuming. In my lazier (or more lucid!) moments, I've found the 100 Yen shops here in Japan a great way to get small storage bits and pieces and organize boxes at low cost. I did that with Gloomhaven and most recently with my Mage Knight organizer.
So what to do with Folklore, where I want to get the content from three boxes into one? Some creative 100 Yen shopping was in order. After a few shopping trips (including carrying the box in with me for some testing) here is what I ended up with!
- x6 'PU' (Polyurethane) fake Leather' trays. (600 yen, approx 5 USD)
- x3 acrylic token trays (each with 5 sections) (300 yen, approx 2.45 USD)
- x1 'Cube' storage box with drawer (100 yen, approx 0.80 USD)
- x1 foamboard (black). 10mm thickness (100 yen, approx 0.80 USD)
- x1 glue gun (200 yen/ 1.60 USD) with x20 black glue sticks (100 yen/ 0.80 USD)
- x2 sets of three 'Book bands' (200 yen/ 1.60 USD). Basically giant elastic bands.
Total cost: 1,600 Yen or approx 13.05 USD.
For reference, here are a couple of images of the most important parts. If you can't get these, you may be able to find something of the same size OR create them from foamboard.
 |
| 'PU leather' tray. (26cm x 10cm x 4cm) I used 6 of these. |
 |
| 'PU (fake) leather tray details/ dimensions |
 |
| 'Multi-connect box'. x1 (8cm x 7.7 x 8) |
 |
| Multi-connect box dimensions. |
 |
| Glue gun. This uses 7.5mm glue sticks |
 |
| Clear acrylic tray. x3 (17.8cm x 7.2 x 3.0 ) |
The Result
In the photos below, let's open the box and explore layer-by-layer. (Stay with me - lots of photos!)
Top layer: rulebooks, world map, tactical maps
 |
| Underneath the journals are all the tactical maps. |
 |
| Lay the maps aside and here is a foam card topper. |
Bottom layer: standees, cards, and tokens
 |
Then we reach the core of the box. A PU leather standee tray, a
central 'valley' with enemy cards, and a DIY card holder (black, at top).
Also made of PU leather trays x2 (one of which is used as a lid) |
 |
The standee tray (bottom) holds just over 200 standees. Enemies
are sorted alphabetically L-R, with characters at right. |
 |
Removing the PU box cover at top reveals it to be another PU tray,
to which I've added some partitions (glue gun).
The bottom half holds all the mini-Euro sized cards. |
 |
| Here is that layer again in full! |
 |
Standee tray removed. Underneath is another PU leather tray,
within which is our first acrylic token tray and Town events deck. |
 |
Zooming in, you can also see the initiative track (vertical, at left)
and the character cards (vertical, at right.) Top right there are three
small grey pouches. What is in them? |
 |
Each pouch contains the equipment and ability cards for
one of my party members (I run with three.) |
 |
I've readied the initiative track (L) and pulled out the PU
leather tray and placed it to the right. This has revealed
another PU leather tray With Road events deck and another acrylic tray beneath. |
 |
At the top of the box is a matching PU leather tray, with
the Rumor deck and other tokens. |
 |
The enemy and character cards from the 'valley' and which
are tucked down the side of the box are removed.
|
 |
With most of the trays out, we can see the small storage box
that contains miscellaneous tokens and other (easily lost!) pieces. |
 |
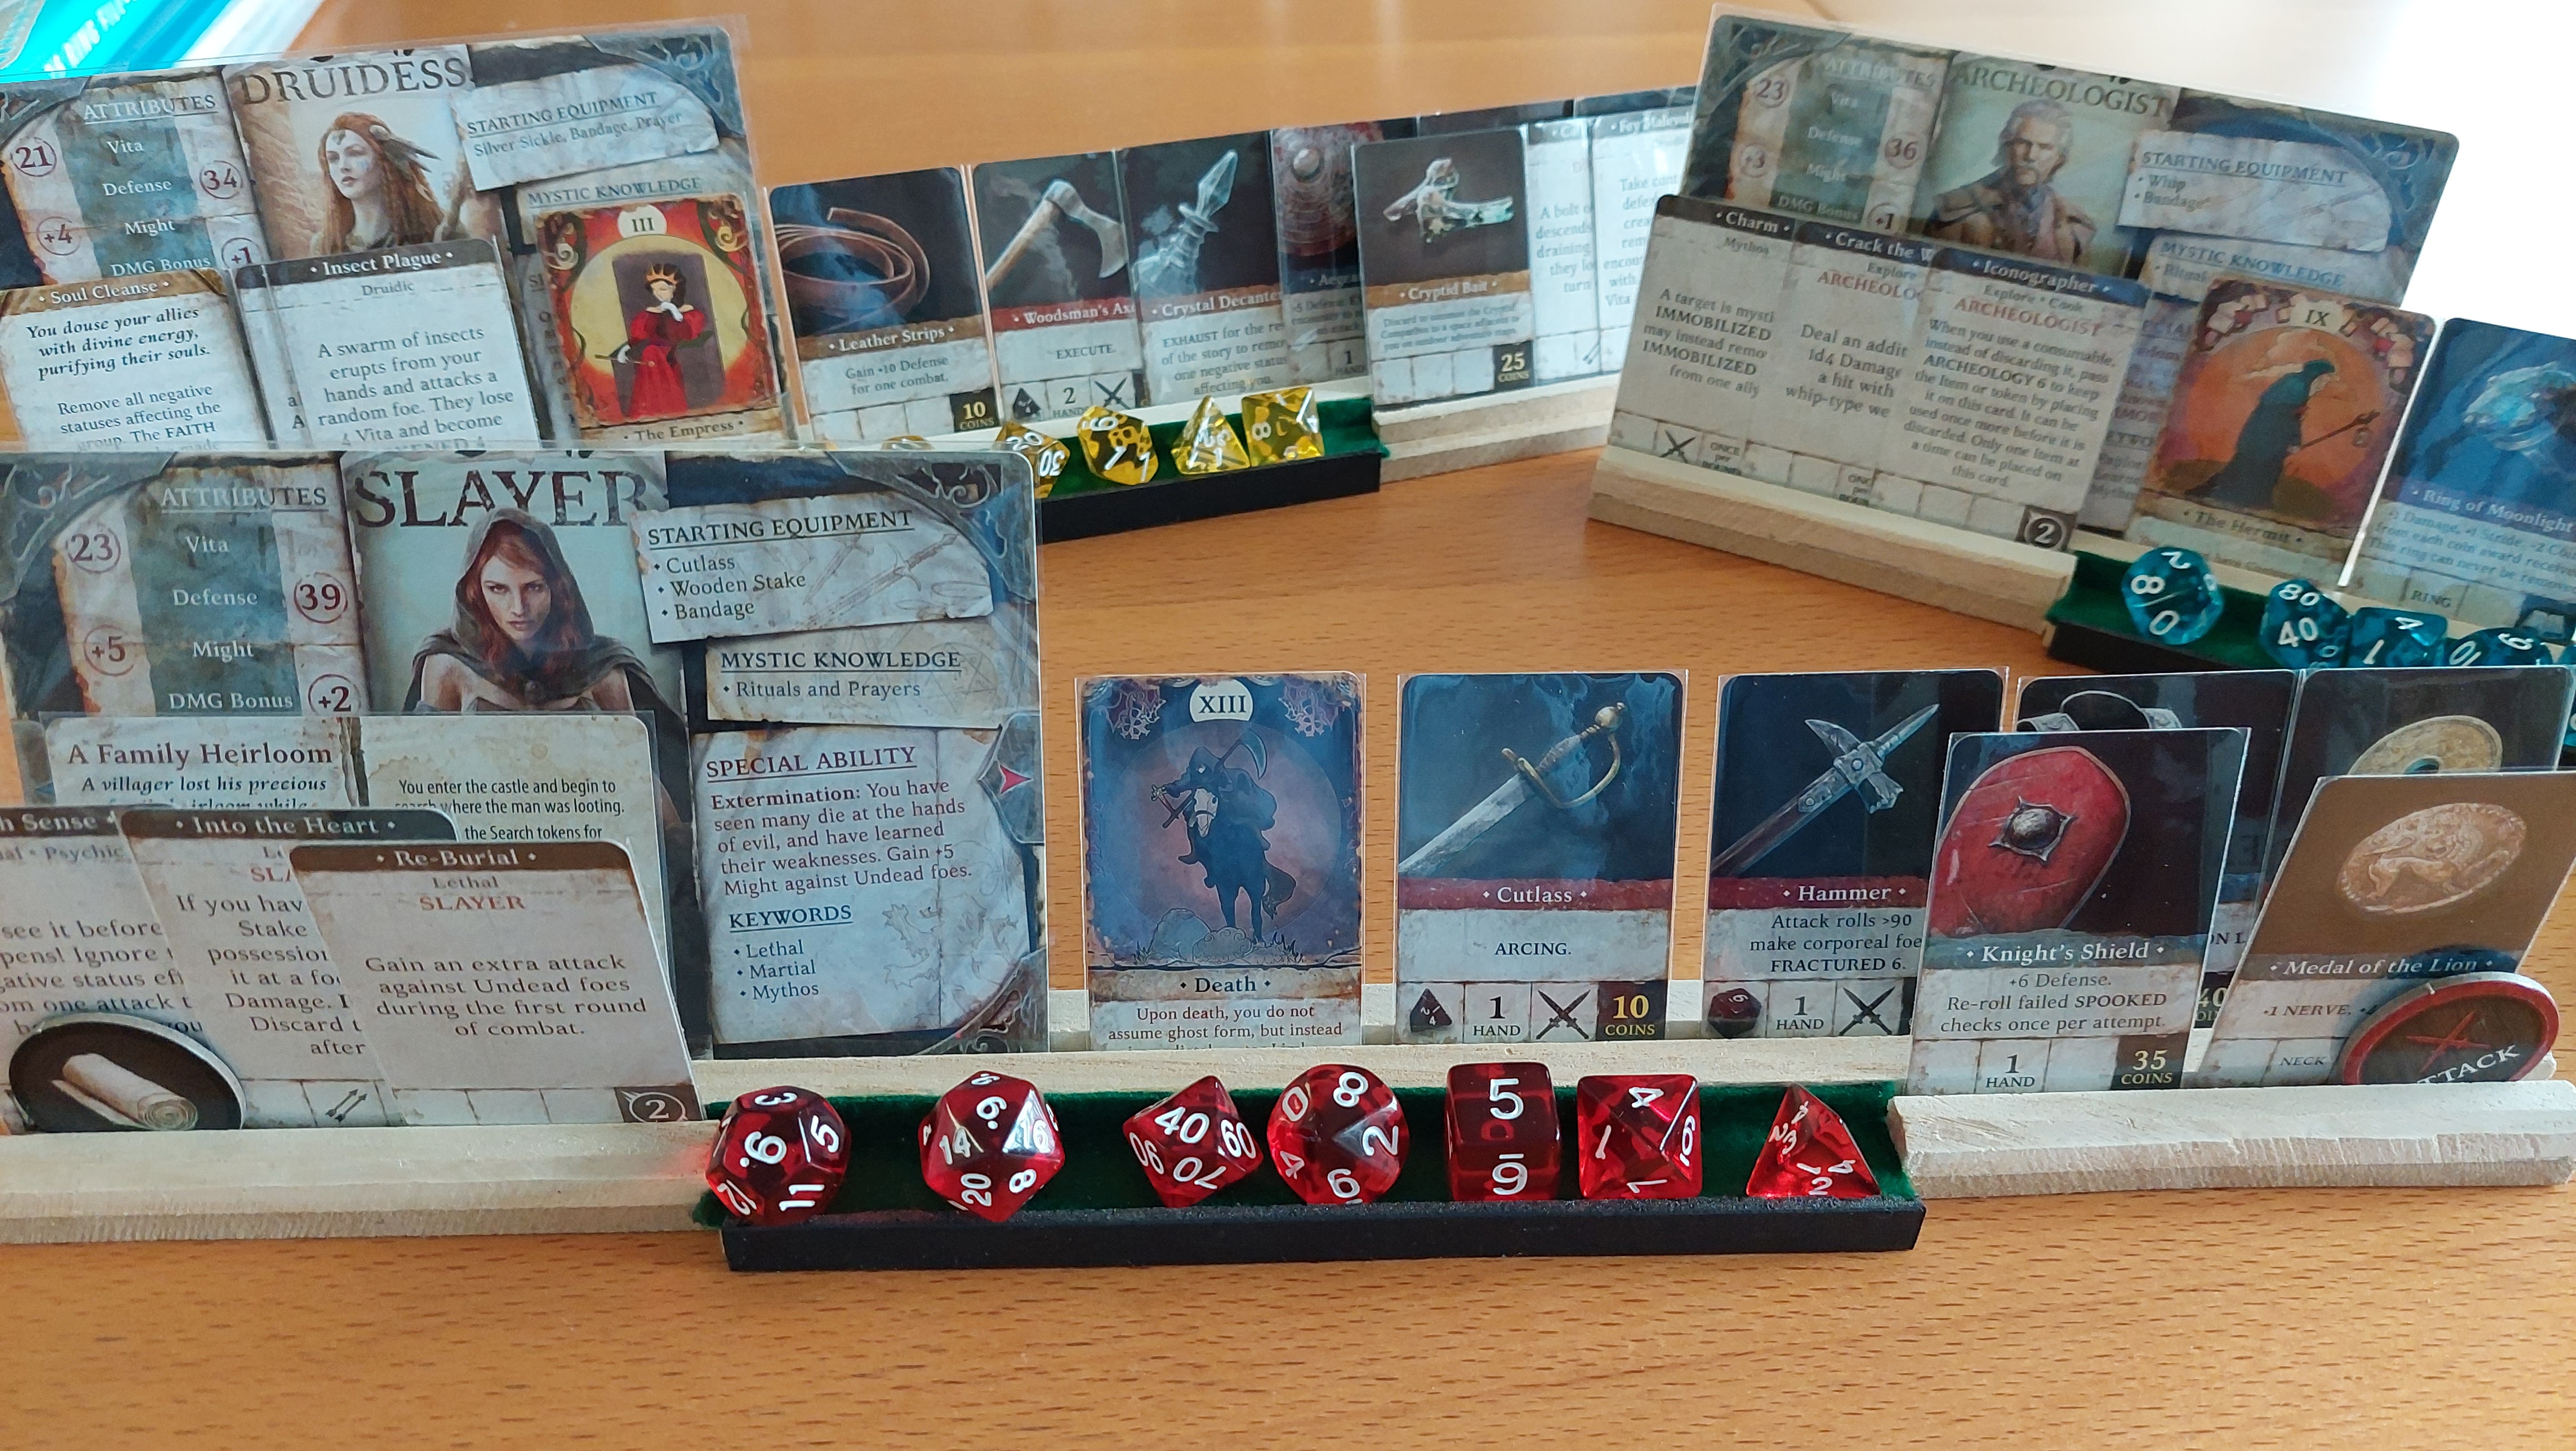
| Dice are also held in a small pouch. Let's roll! |
 |
So with most things out, you can see the cards 'ready to play'
(at right), so they can be easily drawn. |
 |
Here is another view. Note how the small cards are stacked
vertically in the space between the acrylic trays and the PU leather trays
-ready to be used. |
 |
| Here is another view. |
Phew! There is a lot of stuff. The positive is that I can get everything into 'one box'. The issue is that the lid doesn't close. That annoys me, but I'm thinking of adding in some foam or plastic walls to add some rigidity and hide the insides.
Overall, I'm very happy with getting everything together BUT...
...while exploring all the boxes and fitting everything together I discovered a BIG problem.
(To be continued.)